

Get Creative with Tea Potpurri Builder Stencil Set
by Nathalie DeSousa September 20, 2026

Key Takeaways
Versatile A2 Card Making: Easily create layered A2 card backgrounds using dye inks, fragmented panel designs, and 3D foam tape for texture.
Expanded Memory Keeping Layouts: Rotate and overlap the stencil pattern to cover larger 6x8 scrapbooking spreads and album pages seamlessly.
Tactile Shimmer & Relief: Elevate plain flat stenciling by adding metallic Shimmer Relief Pastes and fussy-cut embellishments to highlight key design details.
Hello crafty friends! It's Nathalie here to share a few ideas on how to get creative with the Tea Potpourri Builder Stencil Set and build fun, fresh crafty projects with it. This new stencil set is so easy to work with, and the possibilities are infinite as you can easily change the colors and themes of your project.
I wanted to highlight the design of the stencil with three different yet similar looks, mixing color, dimension, and texture. Let's take a look at what I have created!

Card Making Techniques using the Tea Potpourri Builder Stencil Set
The size of the Tea Potpourri Builder Stencil Set is perfect to create standard A2 size cards. I want to show you how you can get creative with this set and showcase it in simple card designs featuring a small, unique twist.
What better way to get creative with the Tea Potpourri Builder Stencil Set than to craft background panels, but then give them a twist by fragmenting them, adding texture, and creating subtle dimension—all within a simple color combination?

Here is how I created the card panels for these cards:
Select white cardstock and trim it into two 5" x 6" pieces.
Use the Tea Potpourri Builder Stencil Set and colors from the Coastal Mist Fresh Dye Ink set to apply a full image impression onto one of the card panels. Set it aside to dry.
Use a combination of inks from the Tranquil Reflections Fresh Dye Inks and Chasing Shadows Fresh Dye Ink set to create a full image impression of the Tea Potpourri Builder Stencil Set onto the second piece of cardstock. Set it aside to dry.
Select heavy white cardstock along with Galactic Skies Shimmer Relief Paste, Sea Beryl Shimmer Relief Paste, and Brass Shimmer Relief Paste to create impressions of the fruit slices in the stencil set. Set them aside to dry completely, then carefully fussy-cut them apart.
Apply Galactic Skies Shimmer Relief Paste over two of the sentiments from the Tea Potpourri Stencil Set onto heavy white cardstock. Set aside to dry, then use the Nesting A2 Panels Die Set to cut the sentiments into clean strips.
Use the Nesting A2 Panels Die Set to cut the background panels into three fragmented pieces. Adhere them to a card base using Instant Foam Tape to emphasize the separate pieces and add dimension.
Select a sentiment strip and adhere it to the center of each card panel using Instant Foam Tape.
Use foam adhesive squares to mount the dimensional fruit slice impressions onto their corresponding spaces on the stenciled background.
Memory Keeping & Scrapbooking with the Tea Potpourri Builder Stencil Set
Now, let's take a look at how to get creative with the Tea Potpourri Builder Stencil Set to create a larger project for a 6x8 album spread. The design in this stencil set is perfect for pattern repetition, allowing for a larger overall image. A simple addition of color easily changes the entire mood of the project.

Using the Tea Potpourri Stencil Pattern to Add Focus and Visual Interest
The idea of elongating the stenciled impression to create a striking cover page for my family album was the inspiration behind this layout. Here is how it comes together:

Cut a 6" x 8.25" piece of white cardstock for your page base.
Position the Tea Potpourri Builder Stencil Set horizontally at the top of the paper. Use colors from the Sage Garden, Earthy Embrace, Vintage Study, and Highland Flora Fresh Dye Ink sets to blend a full impression across the top section.
Rotate the Tea Potpourri Builder Stencil Set 180 degrees and stencil a matching impression at the bottom of the page using the same ink colors. The ends of the stencil impression will meet and slightly overlap in the center of the page.
Cut a piece of Pastel Sunshine Crafty Necessities Cardstock to 6.5" x 8.5", then adhere your stenciled background panel onto it, leaving a 0.25" border along the top and right edges.
Apply Rose Gold, Brown Moonstone, Mayan Gold, and Enchanted Gold Shimmer Relief Pastes through the stencil to create dimensional fruit slices on heavy cardstock. Set aside to dry, then carefully cut the pieces out.
Use Rose Gold Shimmer Relief Paste to stencil a sentiment onto white cardstock. Set it aside to dry, then cut it out using the Nesting A2 Panels Die Set.
Center the sentiment on the middle of your layout spread using foam adhesive shapes.
Use Instant Dimension Foam Tape to layer the raised fruit slices over their matching spots on the background. Add a few extra slices around the main sentiment strip to frame and emphasize your focal point.

I hope these ideas inspire you to get creative with the Tea Potpourri Builder Stencil Set! There is so much you can craft with this versatile collection using just a few simple modifications. I cannot wait to see what you create!
XO,
Nathalie
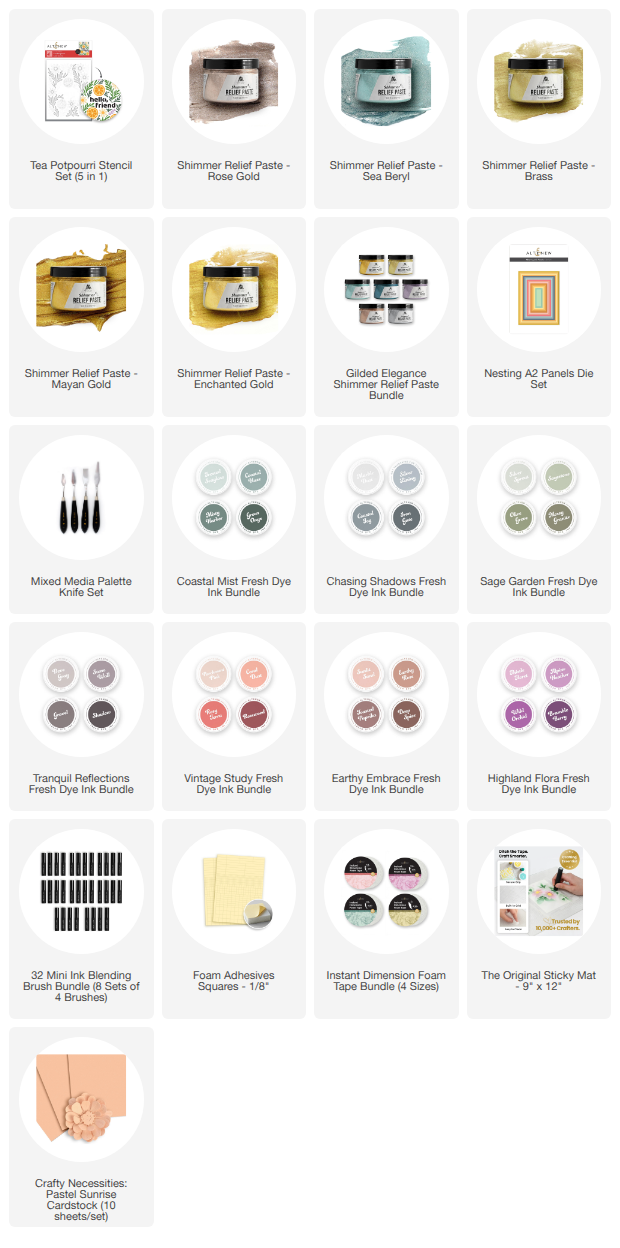
Supply List

For VIPs only: Get 2X Points on every order from September 20, 2026 at 12:01 AM EDT until 11:59 PM EDT. Shop here: https://altenew.life/collections/all-altenew-products
Not part of our Loyalty Program yet? Create a store account HERE to start earning your points for future savings!